Creating those picture-perfect stripes on your lawn requires attention to detail and a systematic approach, but it is not as difficult as many people may think. You can stripe your lawn all on your own by simply attaching a roller or lawn striping kit to the back of your mower and alternating directions as you mow.
To learn more about what exactly causes lawn stripes to pop and look so crisp, let’s look a little closer at the ins and outs of the lawn striping process. Be sure to check out our weekly mowing services for more ways to keep your lawn trimmed and healthy!
Understand The Basics & Know Benefits Of Lawn Striping

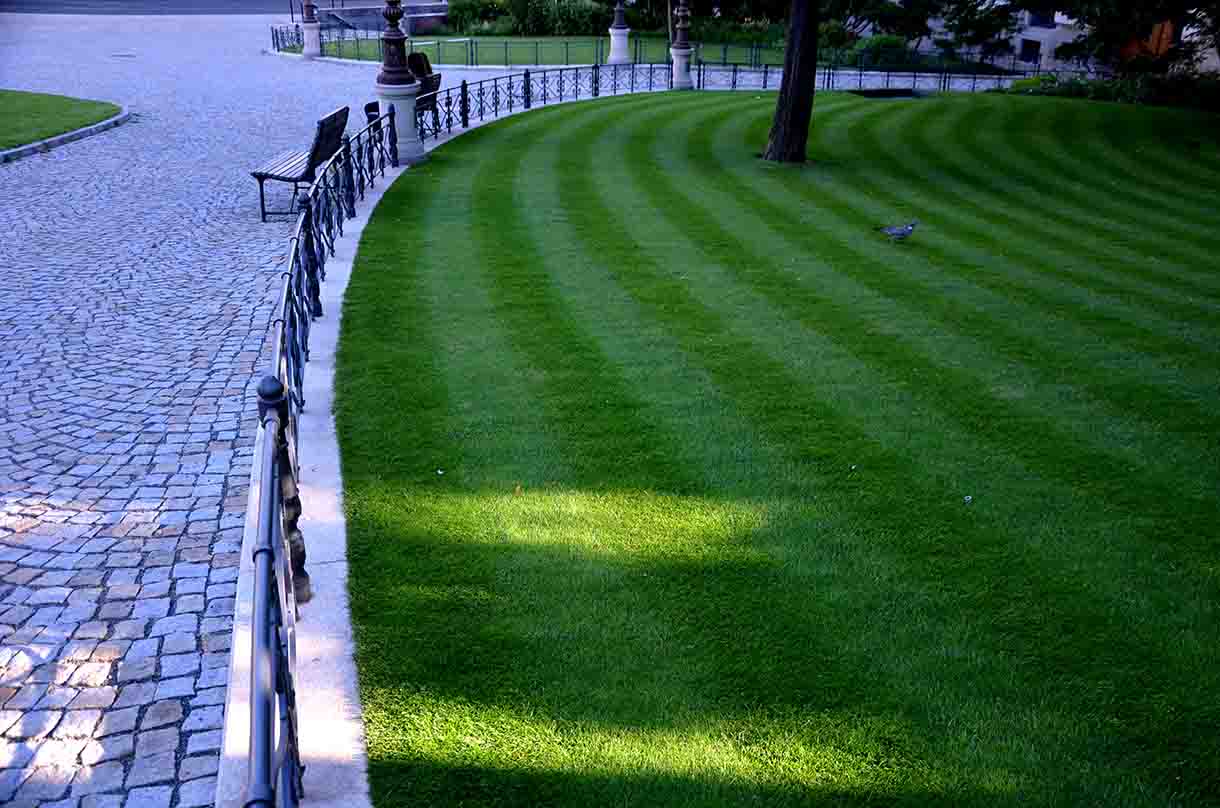
Lawn striping is a landscaping technique used to create visually appealing patterns or designs on a lawn by bending grass blades in different directions, resulting in alternating light and dark stripes. Lawn stripes and patterns are achieved by using a lawn mower equipped with a roller attachment or a striping kit, which flattens the grass in specific directions as you mow. The contrasting light and dark stripes are created by the way sunlight reflects off the grass blades, with blades bent towards the viewer appearing darker and those bent away appearing lighter. Below are some of the best reasons for you to start striping your lawn:
- Curb Appeal: If you're aiming to boost your home's curb appeal, lawn striping is an excellent way to do it. A beautifully striped lawn can make your property stand out in your neighborhood, potentially increasing its market value.
- Photogenic Landscaping: A striped lawn becomes an attractive backdrop for outdoor gatherings, family photos, or special events. It's a picturesque canvas that can make your outdoor memories even more beautiful.
- Upright Growth: Striping involves bending grass blades in alternating directions as you mow. This encourages the grass to grow more upright, which allows for better light exposure and air circulation. As a result, your grass will thrive and remain healthier.
- Stronger Grass: Striping allows you to see the direction in which you last mowed each section of your lawn. Alternating these directions each time you mow reduces stress on your turf, which will result in stronger and more resilient grass blades over time.
Assess Your Lawn & Pick Your Pattern
Planning is a crucial step in achieving beautifully striped lawns that catch the eye and leave a lasting impression. To properly plan for lawn striping, start by assessing your lawn's size and shape. Consider any obstacles or landscaping features that might affect your striping pattern. Next, choose the striping pattern you want to create, whether it's classic horizontal stripes, diagonal designs, or even intricate shapes. Using stakes and string, mark the starting point and initial lines of your pattern. Ensure these marks are straight and evenly spaced to maintain a consistent look.
Remember to consider the viewing perspective because patterns may appear differently from different angles, so plan accordingly. With a well-thought-out plan and clear markings, you'll be better equipped to achieve the desired striping effect when you start mowing. Below are some common designs to consider once you have mastered the basic of lawn striping:
- Classic Horizontal/Vertical Stripes
- Diagonal Stripes
- Checkerboard
- Zig-Zag
- Diamond
- Waves
- Circular
- Much More!
Choose The Right Equipment

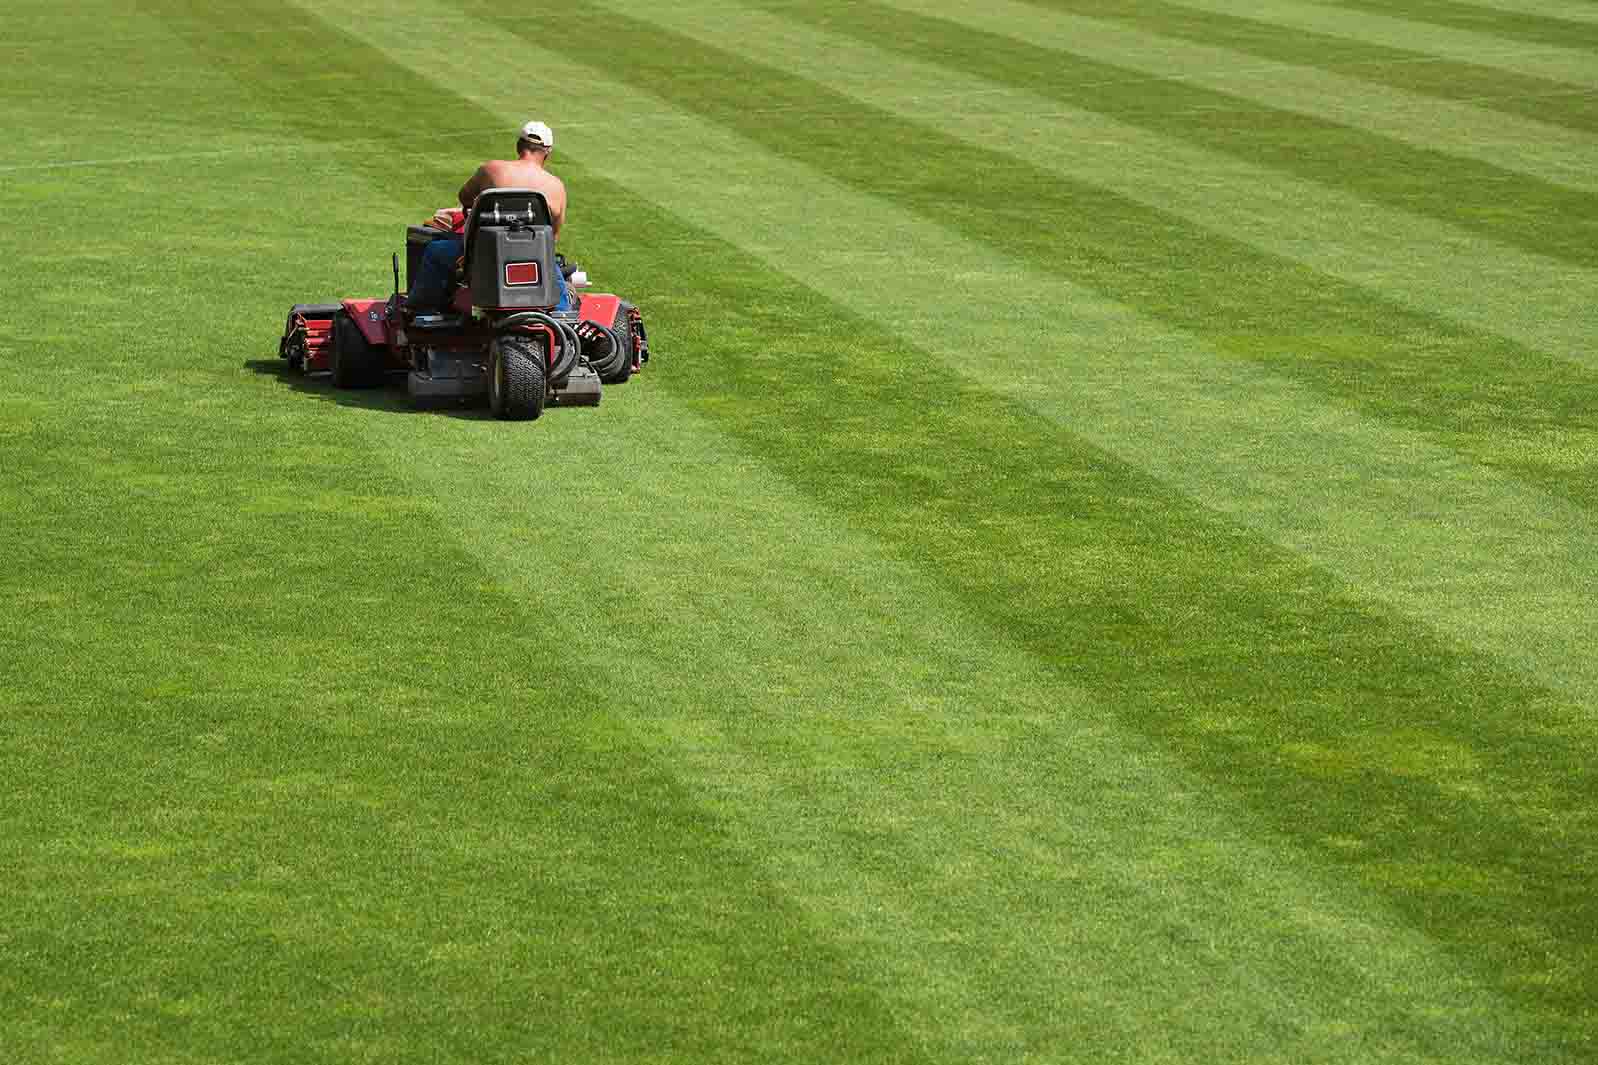
Investing in the appropriate equipment is key to achieving professional-quality lawn stripes. The primary piece of equipment you'll need is a lawn mower equipped with a roller attachment or a striping kit. These attachments create the desired striping effect by flattening the grass in specific directions as you mow. It's also essential to ensure that your mower blades are sharp to achieve clean, precise cuts, which are crucial for creating well-defined lines. Additionally, consider the size and layout of your lawn when selecting a mower – walk-behind mowers are suitable for smaller lawns, while riding mowers are more efficient for larger areas. Keep the following list in mind when assembling your lawn striping equipment:
- Lawn Mower: Select a high-quality lawn mower that's in good working condition. The mower should have adjustable cutting height settings to achieve the desired mowing height for striping.
- Roller Attachment: Invest in a roller attachment for your lawn mower. This attachment is a fundamental tool for bending grass blades and creating the light and dark stripes that define the striping effect.
- Striping Kit: Alternatively, you can opt for a striping kit designed for your specific mower model. These kits often include a roller or a series of rollers, providing you with everything you need to start striping.
- Planning Tools: Gather lawn care essentials like a rake, string, and stakes to help plan and mark your striping pattern accurately. These tools are especially useful for creating intricate designs.
- Mower Maintenance Tools: Ensure you have the necessary tools for maintaining your lawn mower, such as wrenches and blade sharpeners. Keeping your mower blades sharp is an important part of creating stripes.
Start Striping Your Lawn
Begin mowing along your predetermined pattern, making sure to overlap each pass slightly for seamless and uniform lines. Keep a steady pace and maintain a consistent mowing direction to achieve professional-quality results. If you are a beginner looking to create a pattern in your lawn for the first time, it is highly recommended that you start with basic horizontal stripes. This is a great way to learn the basic techniques for creating more intricate patterns later. Keep these steps in mind, and refer back to them before you begin each mowing session during which you plan to stripe your lawn:
- Step 1) Set The Mowing Height: Adjust your mower's cutting height to slightly above normal, typically between 2-4 inches, depending on grass type.
- Step 2) Plan Your Starting Point: Choose a point along the edge of your lawn as your starting reference. This will be the point from which you begin creating your horizontal stripes.
- Step 3) Mow The First Pass: Position your mower at the starting point, ensuring the roller attachment is engaged. Mow in a straight line across your lawn from one side to the other.
- Step 4) Overlap Slightly: On your way back, overlap the first pass slightly with the mower's wheel on the already mowed grass. This overlap will ensure a consistent and even appearance for your stripes.
- Step 5) Maintain A Straight Line: As you mow, focus on maintaining a straight line by using a distant reference point across your lawn. Repeat the process, mowing parallel to your first pass, creating additional horizontal stripes.
- Step 6) Alternate Mowing Directions: Alternate the direction in which you mow for each subsequent stripe. For example, if your first stripe was from east to west, mow the next stripe from west to east.
Lawn Striping Tips For Success

Achieving professional-quality lawn stripes requires careful planning, attention to detail, and the right equipment. By following the step-by-step instructions above and incorporating your own creativity and flair, you can transform your lawn into a stunning masterpiece that will be the envy of the neighborhood.
If you do want a little extra help, you can always call a professional lawn care provider like Summit Lawns to get the job done right! We hope this information has been helpful, and we will leave you with a few final tips for lawn striping success!
- Choose The Right Grass Type: Selecting the appropriate grass type is crucial for successful striping. Cool-season grasses like Kentucky bluegrass, fine fescue, and perennial ryegrass are known for their fine texture and responsiveness to striping.
- Mower & Roller Maintenance: Ensure your lawn mower and roller are well-maintained. Blades should be sharp to achieve clean cuts, and the roller should be adjusted properly to create the desired bend in the grass blades.
- Ideal Mowing Height: Adjust your mower's height appropriately. The general rule is to keep your grass at a height of around 2.5 to 3.5 inches. Taller grass blades create more prominent stripes and enhance the visual impact.
- Change Future Mowing Patterns: It is recommended that you change up patterns, or at least switch mowing directions, each time you mow and stripe. This avoids excess stress and damage to grass blades, and promotes upright growth.
- Mind The Sunlight: The direction of your stripes can affect the way sunlight reflects off your lawn. For a more dramatic effect, mow in the direction of the light source. Experiment with different angles to see what works best for your lawn's orientation.
- Patience & Practice: Like any skill, creating the perfect lawn stripes takes practice. Be patient with yourself and keep refining your technique. With each mow, you'll likely see improvements in the quality and precision of your stripes!